Fitting the iWalk 3.0
Hands-free crutches are an innovative and intuitive way of regaining your independence following a lower-limb injury or break. Whilst it can look intimidating, the iWalk 3.0 is is actually incredibly easy to fit and fix into place.
Take a look at our guide below if you're having difficulty fitting yours, or if you're considering purchasing one for yourself or a loved one.
What Is the iWalk?
The iWalk has changed the game for those recovering from surgery on a lower limb. The iWalk 3.0 is 100% hands-free, meaning both hands are completely free during use.
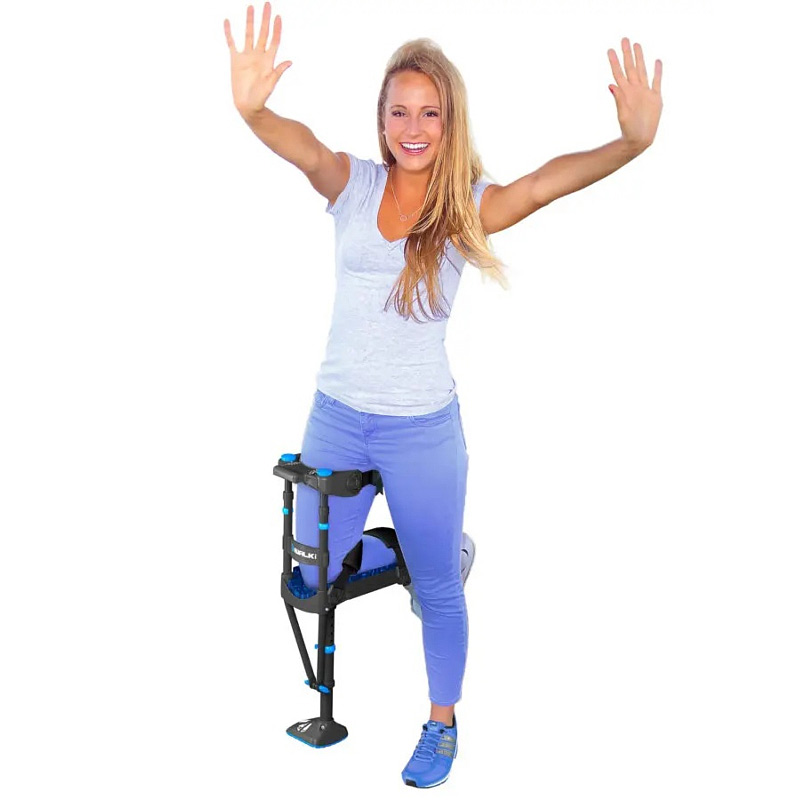
iWALK 3.0 Hands Free Crutch
- Innovative hands free crutch for speedy rehabilitation
- Great for Achilles tendon injuries, sprained ankles and more
- Maintain your mobility and independence
- Updated and upgraded design for even greater comfort and quality
The iWalk works by attaching itself to your leg, creating a 90° platform for your knee. This creates a bend in the leg, allowing the rest of the crutch to continue downwards into the floor, acting as the support platform in the absence of your leg.
How Do I Fit the iWalk?
If you're looking to assemble your iWalk right out the box, click our link here: How to Assemble the iWalk 3.0.
Once you've assembled your iWalk correctly, you're going to need to know how to correctly and securely fit your iWalk to your leg. The best way to quickly and safely fit your iWalk is to watch the video below:
Fitting Tips and Tricks
We've been selling the iWalk for a while now. During this time we've found a few tips and tricks that will help you out along the way:
- Never use your iWalk with incorrect foot orientation
- Ensure your iWalk leg height is the same as your good leg
- Make sure your weight is evenly distributed 50/50 across your good and injured leg
- Rotate thigh supports inwards as far as they will go until firm contact is made
Tweaks and Adjustments
Take a look below to find out how making some minor tweaks and adjustments can greatly enhance the comfort and stability of your iWalk:
Step One
Adjust both the upper and lower sections of the crutch until the correct height for you is achieved.

Step Two
Tighten all three straps (as highlighted in the graphic below) until they are incredibly tight. A tight fit is necessary because the iWalk essentially becomes part of your leg.

Step Three
Ensure the angle of your iWalk is correct. You don't want a Crutch that's leaning inwards or outwards.

What Next?
Once you've successfully fitted your iWalk to the affected limb, it's time to get to grips with walking using a set of hands-free crutches. To help you out, we've put together another straightforward guide that you can access by clicking the link below: