Assembling the iWalk 3.0
Hands-free crutches are an innovative and intuitive way of regaining your independence following a lower-limb injury or break. Whether you've just ordered your iWalk 3.0 or you're staring at the box wondering how to put yours together, don't fret. We've put this guide together to make things easy.
Take a look and assemble yours in line with our step-by-step instructions below!
What Is the iWalk?
Before we get going, let us introduce the iWalk.
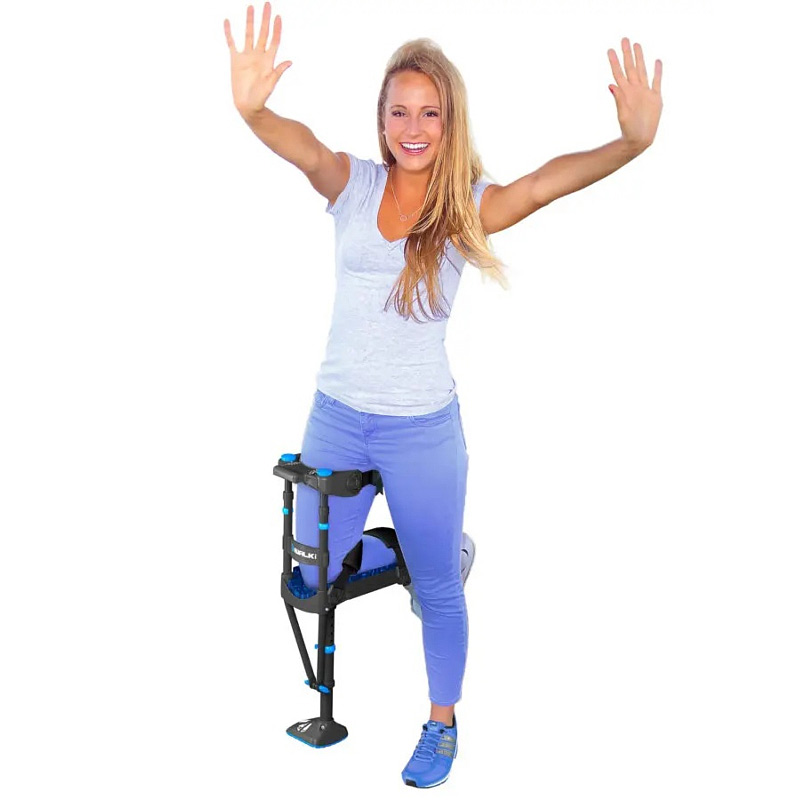
The iWalk has changed the game when recovering from surgery on a lower limb. Boasting an incredible array of updated comfort and performance based improvements, the iWalk 3.0 is the newest version of this 100% hands-free crutch.
iWALK 3.0 Hands Free Crutch
- Innovative hands free crutch for speedy rehabilitation
- Great for Achilles tendon injuries, sprained ankles and more
- Maintain your mobility and independence
- Updated and upgraded design for even greater comfort and quality
The iWalk works by attaching itself to your leg, creating a 90° platform for your knee. This forces the knee to bend, allowing the rest of the crutch to continue downwards into the floor where it forms a supportive platform in the absence of your leg.
How Do I Assemble the iWalk?
Whilst iWalk may look intimidating, it's actually incredibly easy to put together. All component parts slot together safely and securely to form a single, stable crutch.
To find out how to put yours together correctly, take a look at the video below:
Assembly Tips and Tricks
If you're struggling, take a look at some of the assembly tips and tricks we've learned over the years:
- Gently tighten parts if you're unsure at first. You can come back and fully tighten them later if needed.
- Make sure the height of the parallel poles is perfectly symmetrical .
- Ensure all clasps, fastenings and buckles are correctly loaded before use.
- Make sure all adjustment buttons are loaded in place. These can be easily missed.
What Next?
Once you've put your iWalk together, it's time to learn about fitting. To find out how to correctly position and alter your iWalk post-assembly, click the link below:

